This article will provide you with an overview of the 'People' stage of an event planViewing the Planning Stage:
Follow the steps below to view the event Planning Stage:
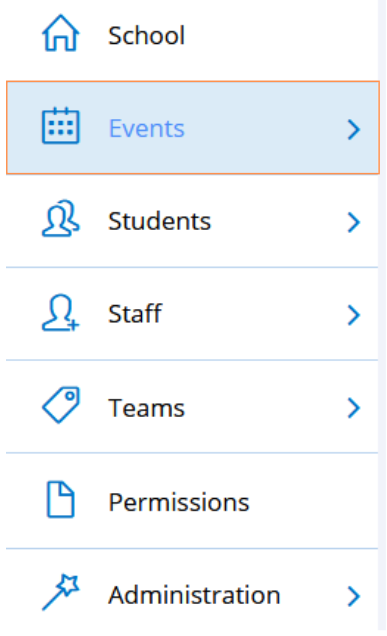
- Select the 'Events' tab in the left-hand menu:
- Select the 'Planning' button beside the name of the event:

- If your event is already active, you can view the planning by selecting the arrow besides the event, and causing the above tabs to drop down:

Overview of the 'People' Section:
There are 5 tiles in the People section of an event plan:
- Students
- Staffing & Supervision
- Transport Management
- External Providers
- Parent Communication

This guide will provide a breakdown of each of these tiles.
Students Tile:
The Students tile is where you can add the participants you'd like to invite to your event. Students can be added here in a few different ways:
- Whole school
To invite the entire school to the event, use this option. - Particular year
To invite selected years (e.g 5 & 6), use this option. - Student Group
For groups such as a Chess Club or Mathletics Group, use this option. - Team
For teams such as Year 9 Netball, use this option. - Personal Group
For a list of students that may not occur outside of your event, such as a year 5 & year 10 buddy group, use this option.
If your school uses 'Houses', you can add students per house as well.
Once you have added the required students, you can then view their catering requirements and medical conditions by selecting the 'View Students' button:


Staffing & Supervision Tile:
The Staffing & Supervision tile is where you can add any staff or volunteers that will be participating in supervising the event.
It's important to note that the Teacher in Charge will not automatically be added to the supervisory team, and if they are attending the event, must be added separately.
It's also important that the contact details showing in this section are correct, as these are the deatils that appear on the Parent Communications.

Transport Management Tile:
The Transport Management tile pulls its information from the activity and transport section of the planning.
This is where you can go to confirm any bookings, upload any required information, and view an overview of all the necessary transport bookings for your event.
To view the information for each booking, select the ‘edit’ icon. This pop-up will show the date and the start/end times. It’s important to check these times to ensure you are arriving in time for the activity, and the appropriate time has been allocated for travel.

External Providers Tile:
The External Providers tile contains the information about the external providers you have indicated you may be using throughout the event. From this tile, you can confirm their details and upload any required documents. There is also a checklist of information they may be required to provide.

Parent Communication Tile:
The Parent Communication tile will provide you with the information parents/guardians will see in the event invitation. This information can be edited, and then previewed by selecting the 'View Invite' button. 
The RSVP date for your event can also be set in this section. It's important to note that this is a cut off date for parents/guardians to be able to provide consent for their child if needed. This can be altered after planning has been completed, in the event management phase.
If there is any documentation parents require for your event, ensure it is uploaded here, as it will be attached to the email they receive.

We hope this guide helped with your enquiry.

Was this article helpful?
That’s Great!
Thank you for your feedback
Sorry! We couldn't be helpful
Thank you for your feedback
Feedback sent
We appreciate your effort and will try to fix the article