This article will provide you with an overview of the 'Supporting' stage of an event planViewing the Planning Stage:
Follow the steps below to view the event Planning Stage:
- Select the 'Events' tab in the left-hand menu:

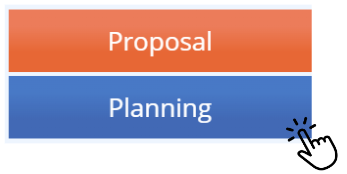
- Select the 'Planning' button beside the name of the event:
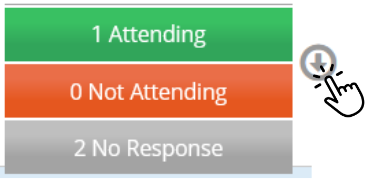
- If your event is already active, you can view the planning by selecting the arrow beside the event, causing the above tabs to drop down:
Overview of the 'Supporting' Section:
There are 5 tiles in the People section of an event plan:
- Settings
- Budget
- Document Summary
- Risks
- Approval
 This guide will provide a breakdown of each of these tiles.
Settings Tile:
The Settings tile differs depending on the event type, and is where you can go to set up specific requirements for an event. The information outlined in this section feeds back into the Parent Communication Tile as it provides parents/guardians with the outlined requirements.
For example, selecting the ''Is a Specific Uniform Required?" as Yes, parents/guardians will be notified that their child needs to be wearing the specific uniform on the day.


Budget Tile:
The Budget tile allows you to outline the budget information for your event, so that the approvers can review the necessary cost information. Through this tile, you can provide the GL Code (if used) and upload documents, as well as provide a detailed overview.

Document Summary Tile:
The Document Summary tile displays all the documents you have uploaded throughout your event planning. From here you can view the category, document name, and download a copy if needed.
To see more information about managing this section, click here.
Risks Tile:
The Risks tile provides you with the necessary information needed to mitigate any and all risks included in your event. Through this tile, you can view Participant Risks, Activity Risks, Transport Risks, General Risks, Location & Accommodation Risks (if an overnight event), and add manual risks if you believe there is information that has not been outlined correctly.
Each section requires you to review and acknowledge the risk, provides you with guidelines and mitigation suggestions, and has a note section in case you'd like to add additional information.
It is crucial that this tile is completed accurately and thoroughly to ensure your students safety while participating in your event.

Approval Tile:
The Approval tile is the final stage in the event planning process, which allows you to submit your plan for approval. By hovering of the 'Begin Approval' button, you can view any sections that have been missed or require additional information.
This section also allows you to duplicate events, which will replicate all the information outlined in the planning at a later date.
For a full guide on duplicating events, please click here.

We hope this guide helped with your enquiry.

Was this article helpful?
That’s Great!
Thank you for your feedback
Sorry! We couldn't be helpful
Thank you for your feedback
Feedback sent
We appreciate your effort and will try to fix the article